


I have a pretty good number of pies in my repertoire, but one that seems to be a universal favorite (and one I rarely hear about and never see in restaurants) is a cranberry pie. Not an apple-cranberry pie, which is quite common and a great blend of flavors, but a purely cranberry pie. Too tart, you say? No, my friend. This pie is heaven in a wedge if you know how to make it right. (Warning: this is a LONG post due to the many pictures I'm putting in this tutorial. I hate it when bloggers think you know how to do something and you are left guessing what a step looks like! So feel free to skim by the obvious ones if you are a more experienced baker.)
First, we start with the crust. I had several years of frustration in my relationship with pie crust. Pie crust was a lot like the moody emo poet you dated for a while in high school. He would blow hot and cold, sometimes being so helpful and a good listener and then on another day turn on you, aloof and scribbling dark lyrics. Sometimes the pie crust would crack when I was rolling it out, other times it would be perfect, but I could never predict with any certainty what mood it would be in.

Fool"proof" Double Crust Pie Dough (Adapted from The America's Test Kitchen Family Baking Book)
2 1/2 cups (12 1/2 ounces) all-purpose flour (I only use King Arthur flour)
2 tablespoons sugar
1 teaspoon salt
12 tablespoons (1 1/2 sticks) unsalted butter, cut into 1/4 inch pieces and chilled
1/2 cup vegetable shortening, cut into four pieces and chilled
1/4 cup vodka, chilled
1/4 cup water, chilled
Make sure your ingredients are exactly as stated above - everything needs to be the right size and properly chilled. I assembly line a lot of this by chilling and cutting the fats and vodka/water ahead of time.

You can mix the 1/4 cup water and vodka together and put it in a juice glass and stick it in the freezer. The vodka acts like antifreeze so everything stays liquid. I've forgotten this was in my freezer until the following day and it was just an ice cold syrup. It worked great!

 Take your stick or half-stick of butter and using a long knife or bench scraper, slice it straight down the middle. Keeping the butter together in stick form, turn it again on it's side and do the same motion again - this cuts it so each quarter will be the perfect size.
 Use your bench scraper or knife to cut this into a quarter inch slice - the butter will separate into the perfect size for the recipe and it is an incredibly fast technique that doesn't overhandle and warm up the fat. You can do the same thing when cutting the shortening into fourths and put all the fats together in a bowl, sticking it in the freezer until you are ready.
Take only 1 1/2 cups of the flour, the sugar and the salt and pulse it in your food processor until combined.

Sprinkle the cold butter and shortening pieces over the flour mixture and process it for no more than 15 seconds.

It should look exactly like this - beginning to clump up in irregular pieces and very moist. Now add the remaining 1 cup of flour over this and pulse it 4 to 6 times.

The mixture looks more dry and sandy, but you can still see the bits of butter and shortening in there. Isn't it amazing the difference a cup of flour makes? Dump this mixture into a large bowl.

 Pour that ice cold vodka/water mixture into the dough. Using a rubber spatula, fold the water in, pressing the mixture against the sides of the bowl. The recipe calls for a technique, the fancy French name is frissage, which basically means smearing the butter against the flour. This creates the silky, flaky layers that you ideally want in a pie crust.
Use that rubber spatula (which is going to bend as you push the shaggy dough, smearing it against the side of the bowl) and don't be afraid to take bigger and bigger amounts of the dough to do this. Because of how moist it is, the dough is going to be pushed together by your doing this, becoming more cohesive. In less than sixty seconds, you will have this.

Don't be afraid to briefly stick your hand in there and gently gather the dough into a semblance of a ball. This is going to feel wetter than regular pie dough. Don't panic. That's exactly what it should feel like. Using your knife or bench scraper, cut this ball into two even pieces. Get out your plastic wrap.
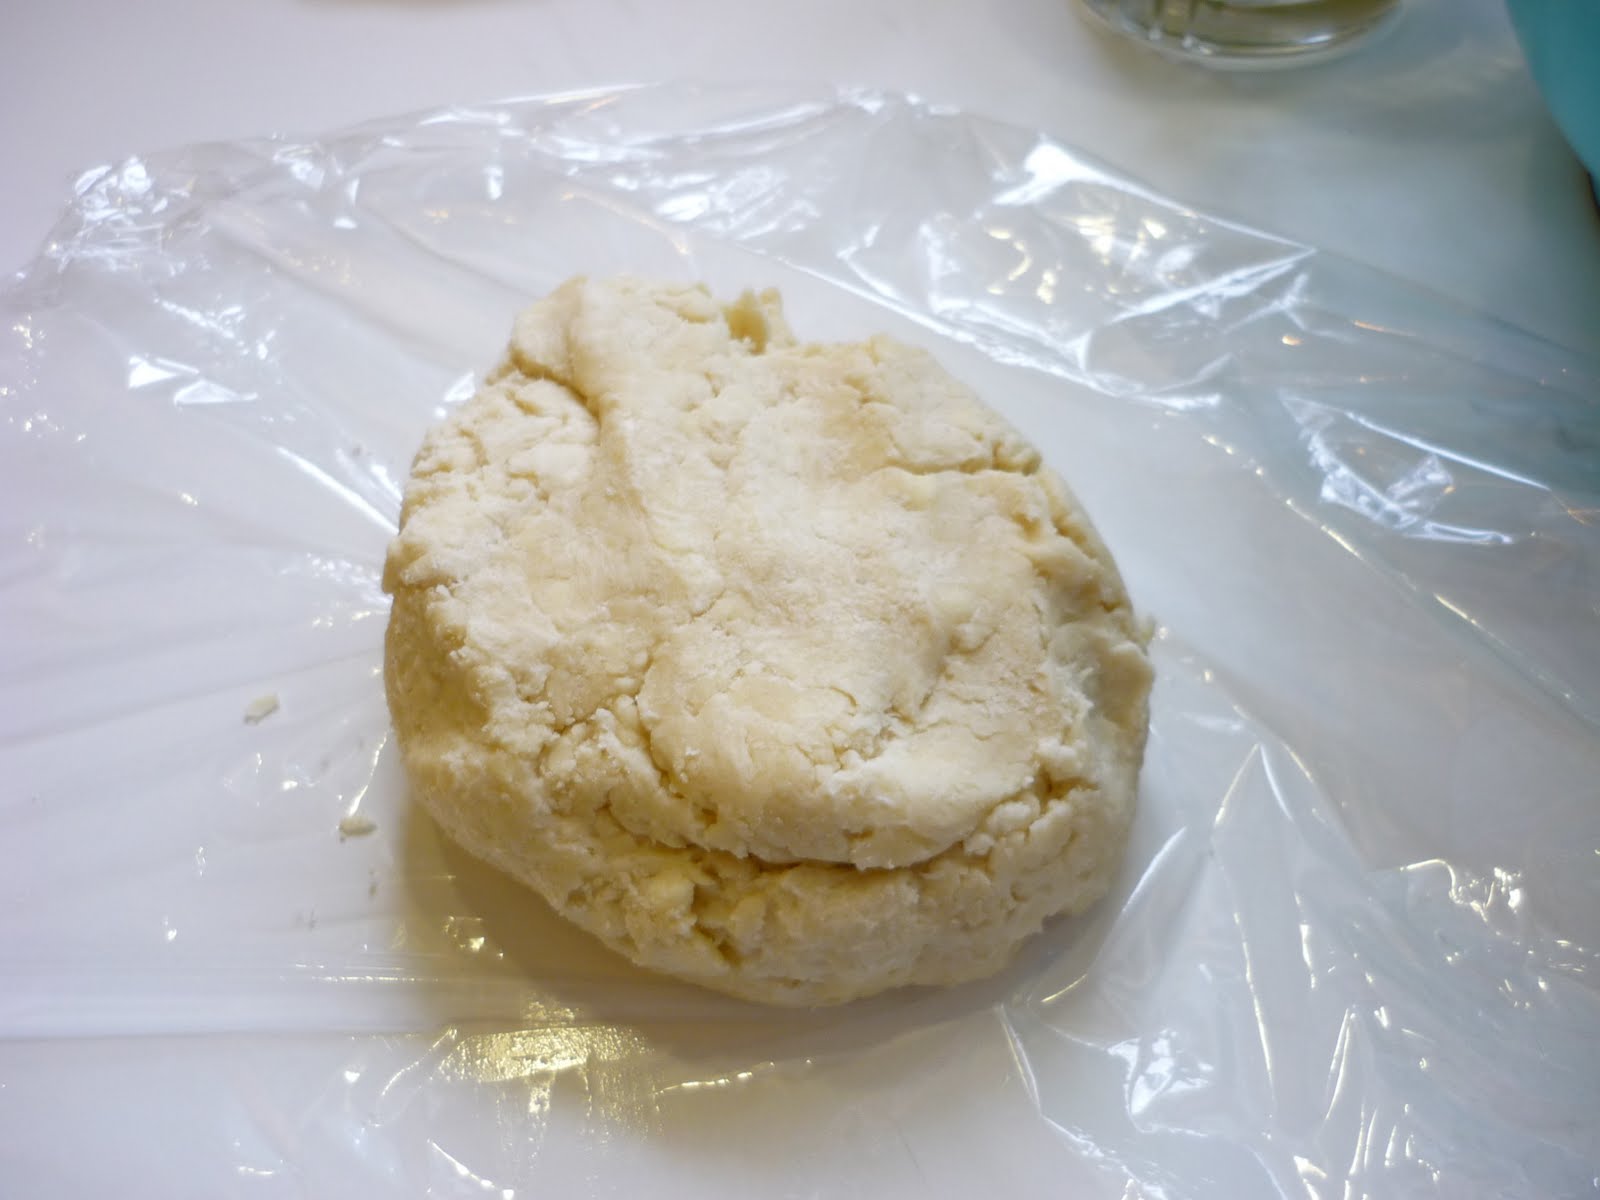
Put one half of the dough onto the plastic wrap and flatten it a little. Wrap the plastic wrap around it, and then firm it on the outside of the wrap into a nice four or five inch disk.

You are going to see the little bits of butter and shortening through the plastic wrap. That's good! It's exactly what will make your crust so amazing. Now pop it in the fridge for at least an hour to firm up. One of the awesome things about this dough is that you can make pie today, or you can do the rolling out and filling later. This dough lives very nicely in the fridge for up to two days and you can even freeze it (just like this, but stick the plastic wrapped ball in a ziplock). Just let the frozen dough thaw on the counter before rolling out. Now for the filling!!
Cranberry Pie (adapted from The Frugal Gourmet Cooks American)
4 cups cranberries
1 1/2 cups granulated sugar
3 tablespoons cornstarch
1 egg, slightly beaten
1/2 teaspoon almond extract

Start with good cranberries. I get those honking big resealable bags from warehouse stores that can just live in my freezer for months. It's okay if the cranberries are still frozen when you make this filling (it will just be kind of noisy when you pulse the processor!).


This is what the cranberry/sugar/cornstarch mixture looks like pulsed. Put it in a medium bowl.

Mix in your egg (I forgot to beat it, but it doesn't really affect anything) and the almond extract. Your filling is done! Let's roll out the pie.

Dust your countertop heavily with flour and get ready to roll out your pie. I have a marble rolling pin and wooden French pin and I love both of them. Roll out the crust one or twice and then give the crust a quarter turn. This keeps the pie crust into more of a round shape.
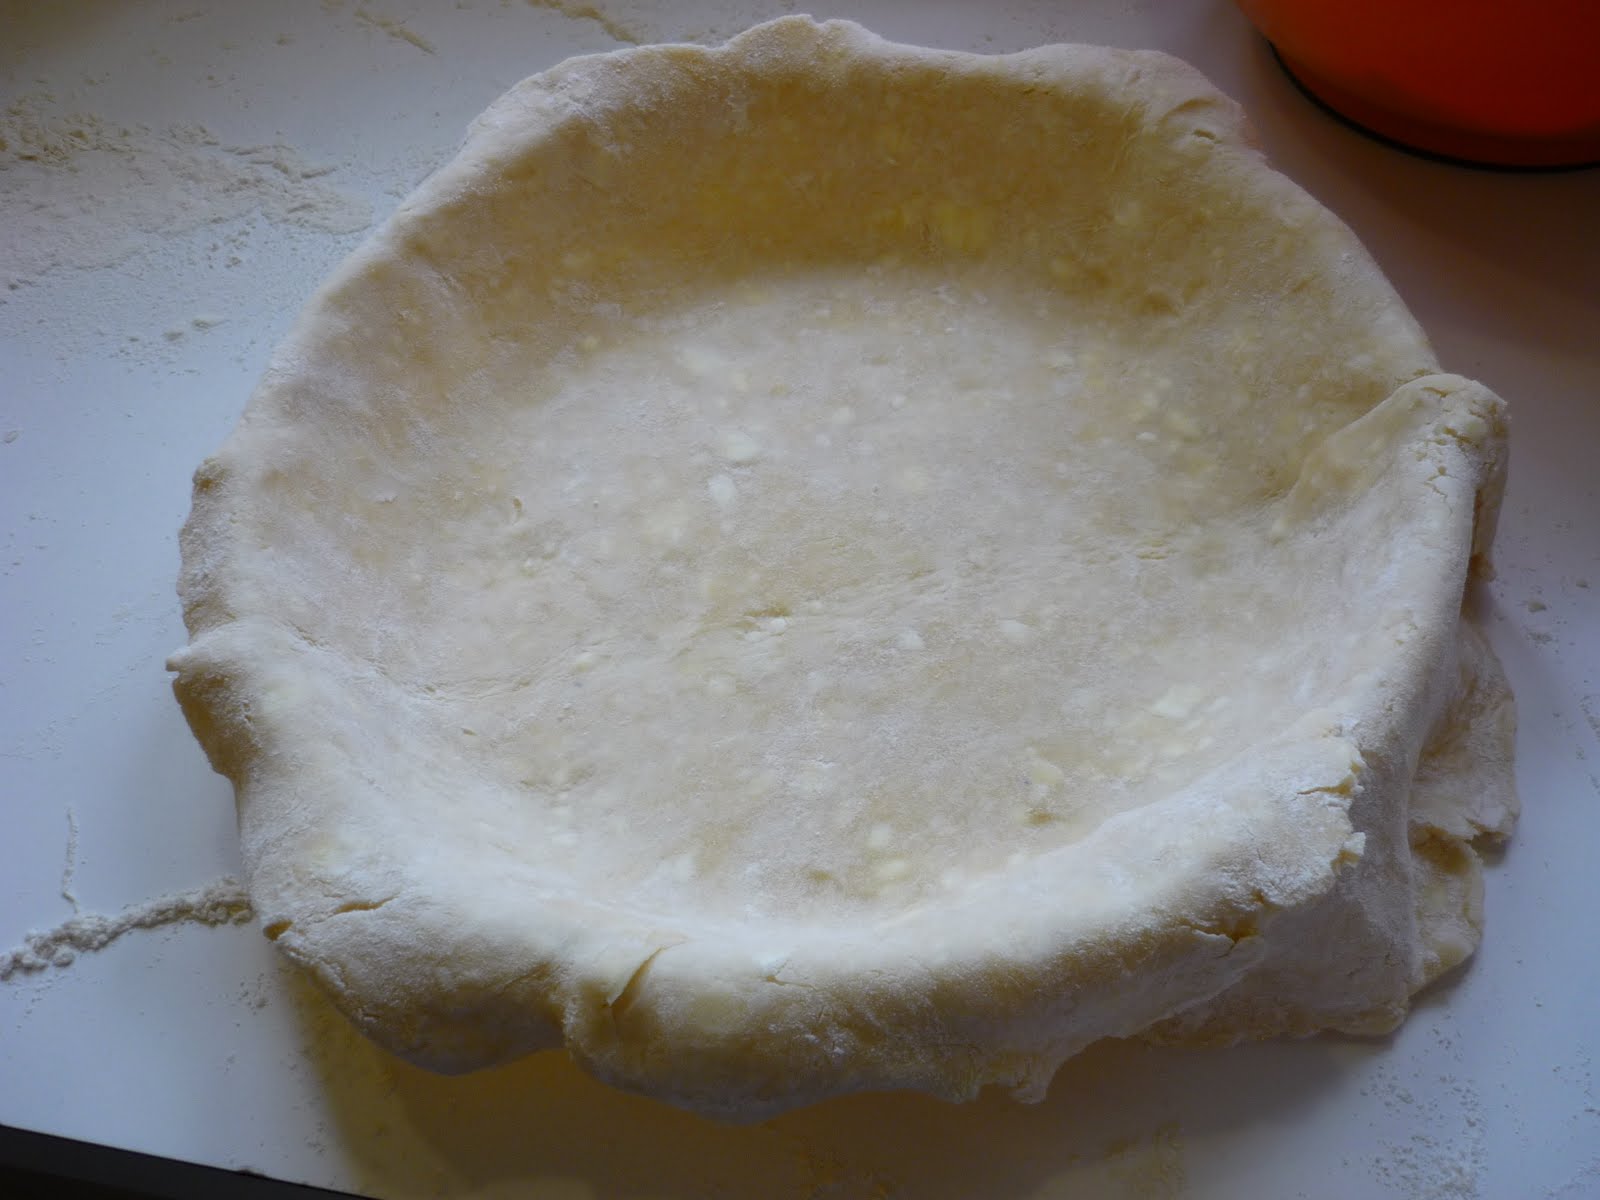
When you have the size you want, gently transfer it to your rolling pin (brushing off any visible excess flour) and then roll it out into the pie plate. I've used a deeper Pyrex plate (glass pie plates make the best bottom crust).

Add your cranberry pie filling into the pie crust and smooth out so it's fairly even. Now roll out the top crust the same way you did the bottom.

Using a pizza cutter or fluted pastry cutter (seen here), cut rows of crust for a lattice top pie. I do not make these perfectly straight, believe me (you could use a ruler if you wanted), but just eyeball them, looking for about an inch in width, with maybe one or two a shade narrower.

See? A little wonky. :-)

Take five or six of the strips and lay them horizontally over the pie, spacing them fairly evenly.

Here's the lattice part. Folding back a couple of the strips to expose the imaginary center line of the pie, place a nice long strip down the center. Fold the moved strips back into place.

Now fold back the strips you didn't move the first time. Snuggle in another strip into this spot. Fold the strips back into place.

Here's what it should look like. You are just going to alternate folding back strips and bringing in the vertical strips.

Here's what it looks like with the strips all in place.

Before you crimp the edges, use your kitchen shears to trim the excess crust away so that you have just an inch of overhang, from the bottom crust and any strips.

Crimp the edges of the pie to seal the crust and strips together. Let's make this a little prettier, though, okay?

Taking the left over pie dough I didn't use in the strips and balling it (gently) with the crust I cut away, I rolled it out again and used this awesome little star cutters I found cleaning out my cabinets. Now it can really be a Christmas pie!

In order to make the crust nice and shiny, and to make the leaves adhere, we need a nice glaze for the pie. I beat an egg and here's my awesome Hillside Farms heavy cream.

Look at it when you take the cap off. Do you remember my telling you how amazing it is? This cream on the top is so thick that you need a knife to break it in order to get the cream to run out. don't believe me?

Here I am holding it upside down and taking a picture. Nothing is coming out! Add about a tablespoon of cream to the beaten egg.

Brush over the surface of the pie, making sure to get into all the edges.

Place the stars or other decorative elements over the edges and anywhere else you think they look good! Brush them with glaze as well and sprinkle the whole thing with granulated sugar. Put the pie on a cookie sheet lined with parchment paper.

Uh-oh. Look out for pie monsters!! The four-legged ones can be as bad as the two-legged. Gussie here is an LOL Cat waiting to happen, "I can has pie, Mommy?"

Put this baby in the oven at 400 degrees for 10 minutes then turn down the oven to 350 and bake for 35 minutes more. It should be golden and bubbly.

Like this.

Notice how the cream/egg glaze and sprinkled sugar make the pie glisten. isn't it pretty? It has the other great benefit of also adding this tiny "crunch" as you bit into the crust. Heavenly! Let the pie cool on a wire rack until room temperature. It can be stored in a cake saver or in the fridge, but the crust is flakier at room temperature. (Suburb husband insists on cold pie, so I'm whistling dixie if I think he'll listen to me. But maybe you will.)
Let me know if you have any questions. Happy baking!!!
0 comments:
Post a Comment